How to get started? Easy!
To get your website up and running you need to follow these few easy steps:
Step 1:
Click START and browse through the templates catalog:

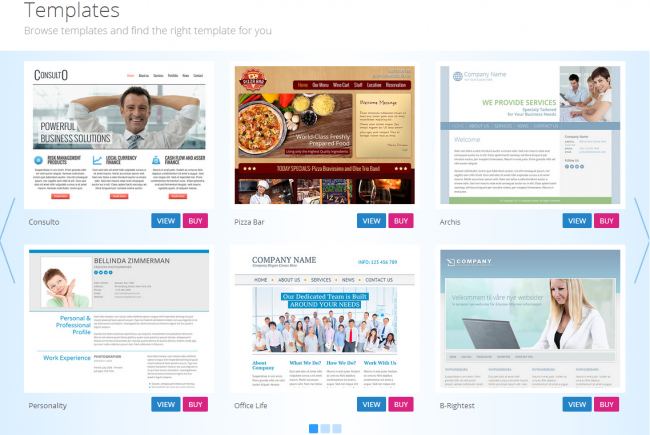
Now you can either decide to view it in a user preview mode or buy it.
Step 2:
Once you are satisfied with a template and have clicked the buy button following form will open:
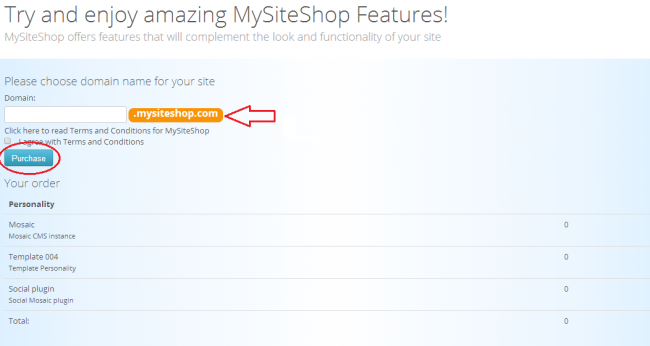
Here you must choose a subdomain name for your site, and after agreeing with the Terms and Conditions click Purchase.
Step 3:
After proceeding a checkout page will appear:
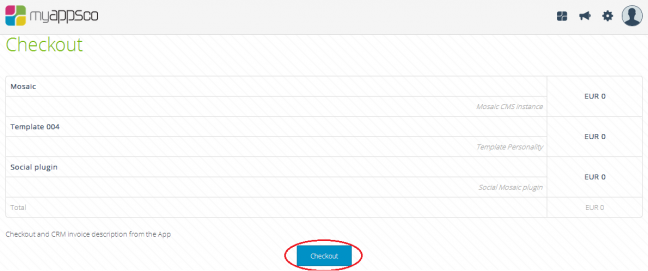
As this service is free you can go on and click on the Checkout button; a conformation window should appear:
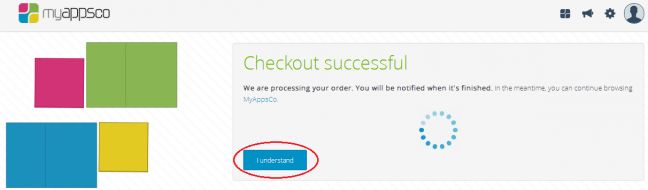
After a few minutes your website will be up and you can proceed by clicking "I understand" button. This will redirect you to your dashboard.
Step 4:
Your new website is ready for use and should be visible under the Applications bar.

By clicking the named website you can access and view it in administrator mode.

That's it! Now you can start working on and further customizing it to suit your needs.
How to add and edit content
Now that you've got your website set up, you'll probably want to add some content to it. If you are logged in as admin of your website you will be given access to the MSS Editor, through it you will be able to use various tools at your disposal.
Each template comes with predefined areas for text and whatever content you wish to add. You can access it simply by clicking somewhere in the area and type away. There are is one thing you need to be aware of here, Content Editor allows you to preserve basic formatting when you paste a text fragment from Microsoft Word. To achieve this, copy the text in a Word document and paste it using the following method:
Use the Ctrl+V shortcut on your keyboard.
If you want to paste an already formatted text, but without preserving the formatting, you can paste it as plain text, following method is preferred:
Using the Shift+Ctrl+V keyboard shortcut. Template formatting will be applied to the text pasted in this way.
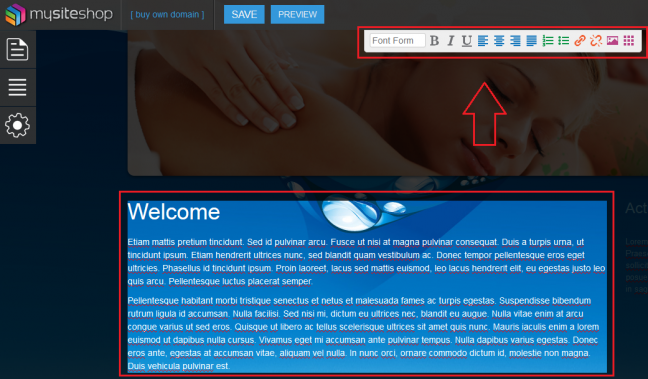
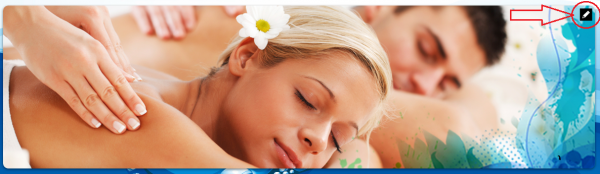
This is done through the Content Editor, which is highlighted in the picture below. Also, for example, you can click on any of the images to activate the Image Manager to change it or click on the top right corner button to modify it.
How to add and modify pages
Adding pages is extremely easy, you just need to do few simple steps and that's it!
Step 1:
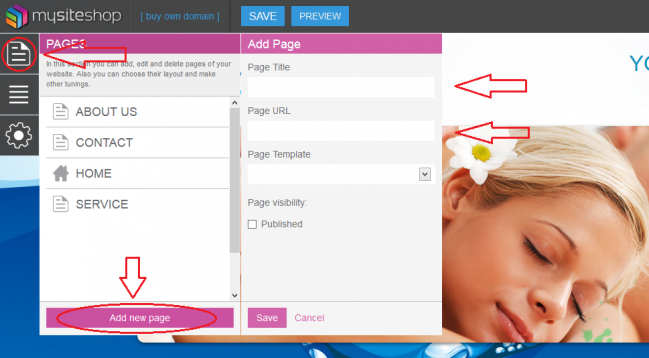
Click on the Pages button on your MSS Editor:
Step 2:
Click on the Add new page button, enter the information on its right and you are all set. If you however want to edit a already existing page, just click on its name in the list and edit, do no forget to save when you are done.
How to manage menus
At some point you may want to rearrange pages to give your site a more distinctive look, follow these few steps:
Step 1:
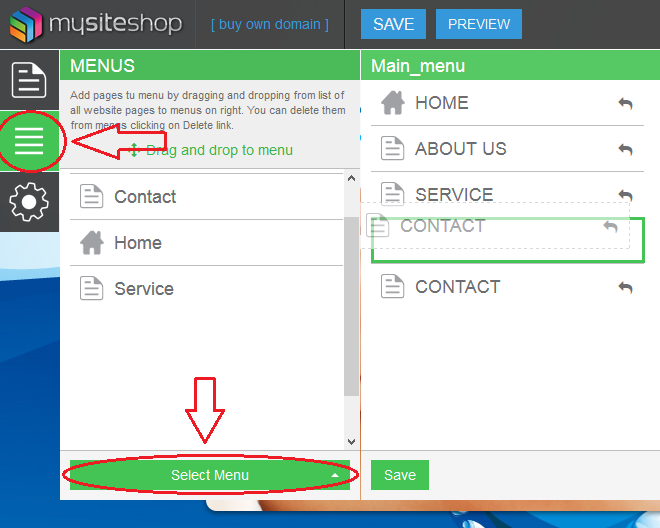
Click on the menus button on your MSS editor.
Step 2:
Select which menu group you wish to edit, then use a simple drag and drop to move menus around, once you are done click save.
Uploading and editing images
If you want to enrich your content with images here is how:
Step 1:
After clicking the area which you want to edit, a familiar content editor bar will appear, in it locate the image upload icon:

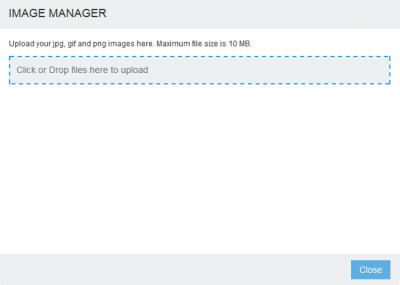
A new window will open:
Step 2:
Use drag and drop or click the designated area to browse to the file you want to upload from your computer. It will be added to the gallery from where you can add it by double-clicking and even use it again, just need to click on it in the listed images.
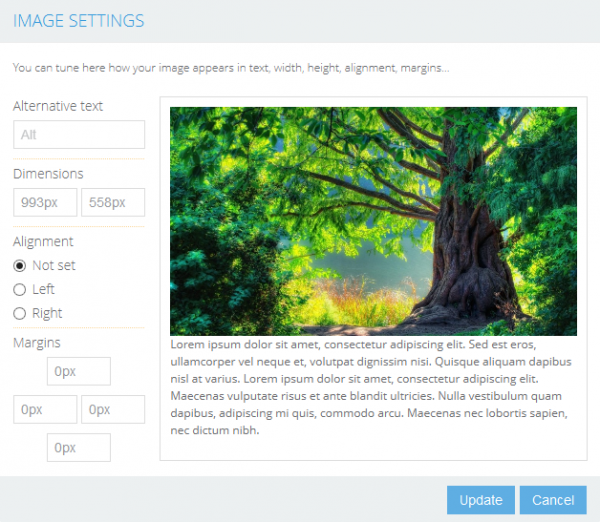
If you want to edit existing images all you need to do is hover over it with your mouse and click the top right icon:
After clicking a intuitive editor will appear:
Set the desired parameters and update the settings, you are done!
Using Google Analytics
To setup Google Analytics feature first click on its icon:
You should see a box with several lines of JavaScript in it. Everything in this box is your tracking code snippet. It starts with <script> and ends with </script>; for example <script> Your code here </script>.
The tracking code contains a unique ID that corresponds to each Google Analytics property. Don’t mix up tracking code snippets from different properties, and don’t reuse this tracking code snippet on multiple domains.
After you are done, click save.

How to upload documents
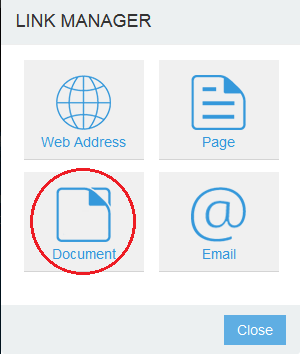
Uploading documents is done through the content editor by clicking on link manager icon first:

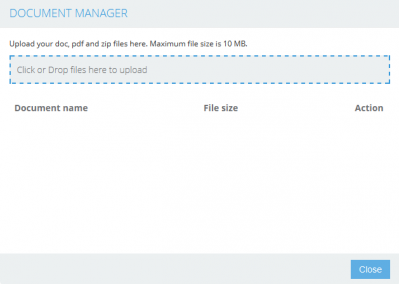
Select the document image; lastly use the document uploader to select which one you want and click close.
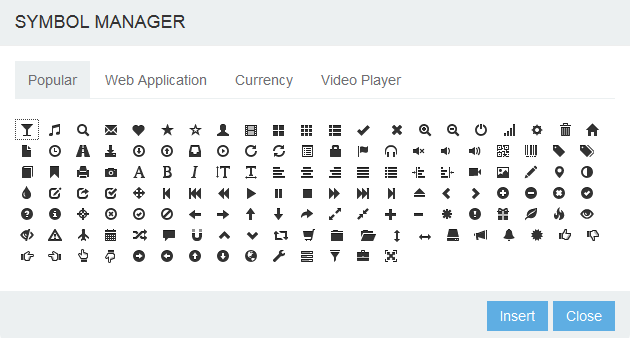
Using Symbol Manager
To gain access to all kinds of symbols which could be tricky to find on your own, click the Symbol Manager icon on the Content editor bar:

You should see a window looking like the picture below; after you have found the desired symbol use the insert button and close the manager when done.
Using Social Module
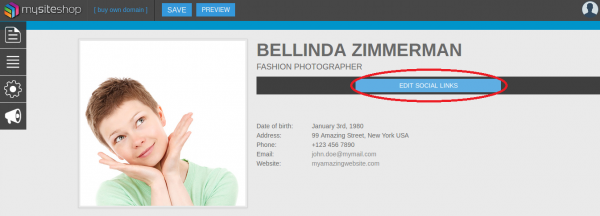
To access your website's Social Module you have to:Step 1:
Click on it's button in the designated area:
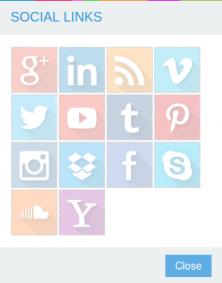
Step 2:
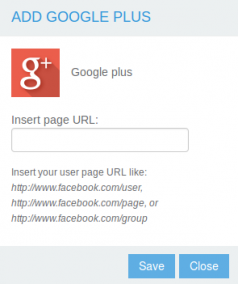
In the next window you can click on whichever service you want to add; after saving it's parameters the button associated to the service will no longer be greyed out.
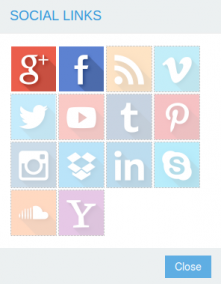
Step 3:
In the end your Social Module should looks something like this:

Using News Module
Access your website's News Module in 3 easy steps:Step 1:
Click on it's designated button on the panel:
 .
.
A list of all news will popup, click on the "Add new post" button:
Once you have entered all the required fields click the "Add new post". Be mindful of the "archived" option, which if you click will cause your news to get archived and not shown on the News page.
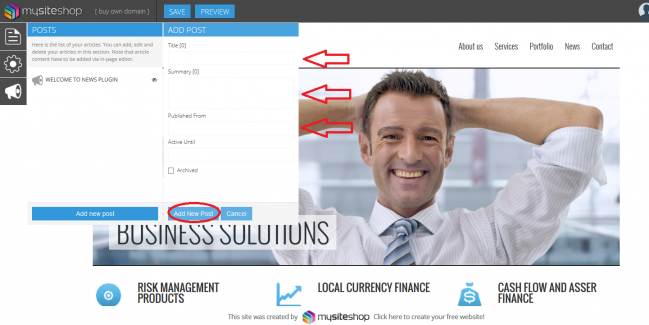
After you've added the news, you can also use this window to additionally edit and/or delete any news entry.
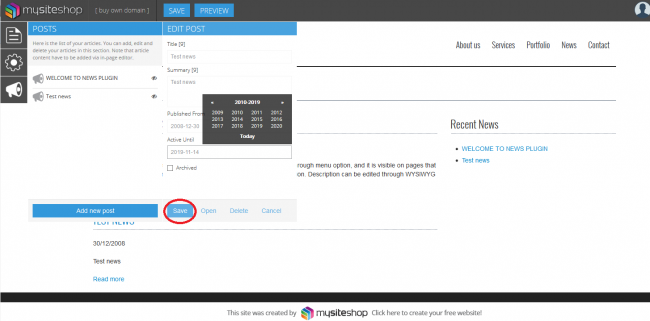
Step 2:
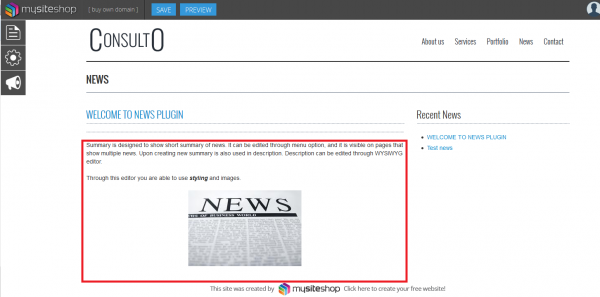
Now go to the News page of your website (Note that it's position may vary depending on the template you choose):
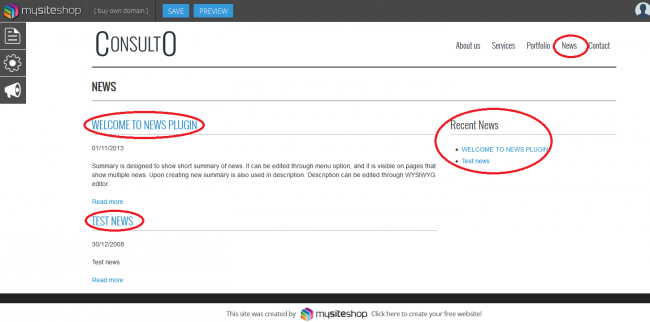
Here you can view the Recent news, which lists all the recent entries, while clicking on their respective titles will take you to a more detailed view.
Step 3:
Clicking in the designated area will bring up the Content editor, which you can use to further edit the news in detail.
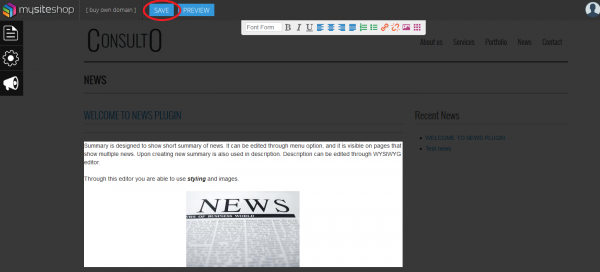
When you are done editing click on the top Save button, this will make every change instantly visible on your website.